
Different Ways to Fix Clock Watchdog Timeout Error on Windows 10
1. Restart Your System When trying to fix the 'Clock Watchdog Timeout' error, your first approach should be to restart your computer. If there is no major fault and a simple bug caused the error, restarting your system might fix it. Once your system restarts, check if the issue is resolved, if not, move to the next fix. 2.

Fix Error CLOCK_WATCHDOG_TIMEOUT in Windows 10/8/7 Blue Screen I SOLUTION 2018 YouTube
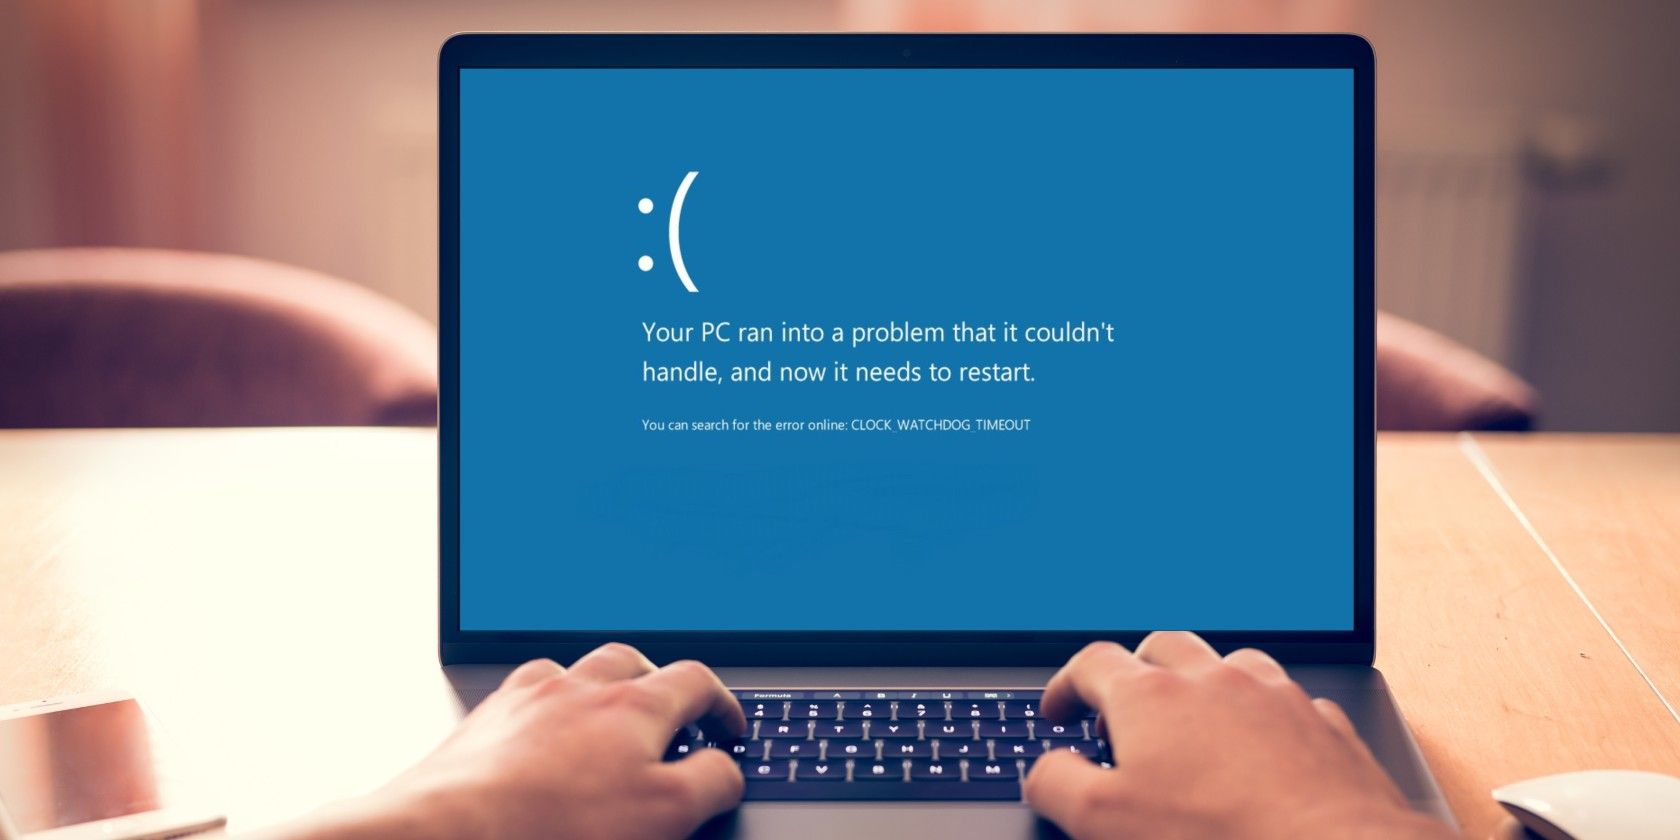
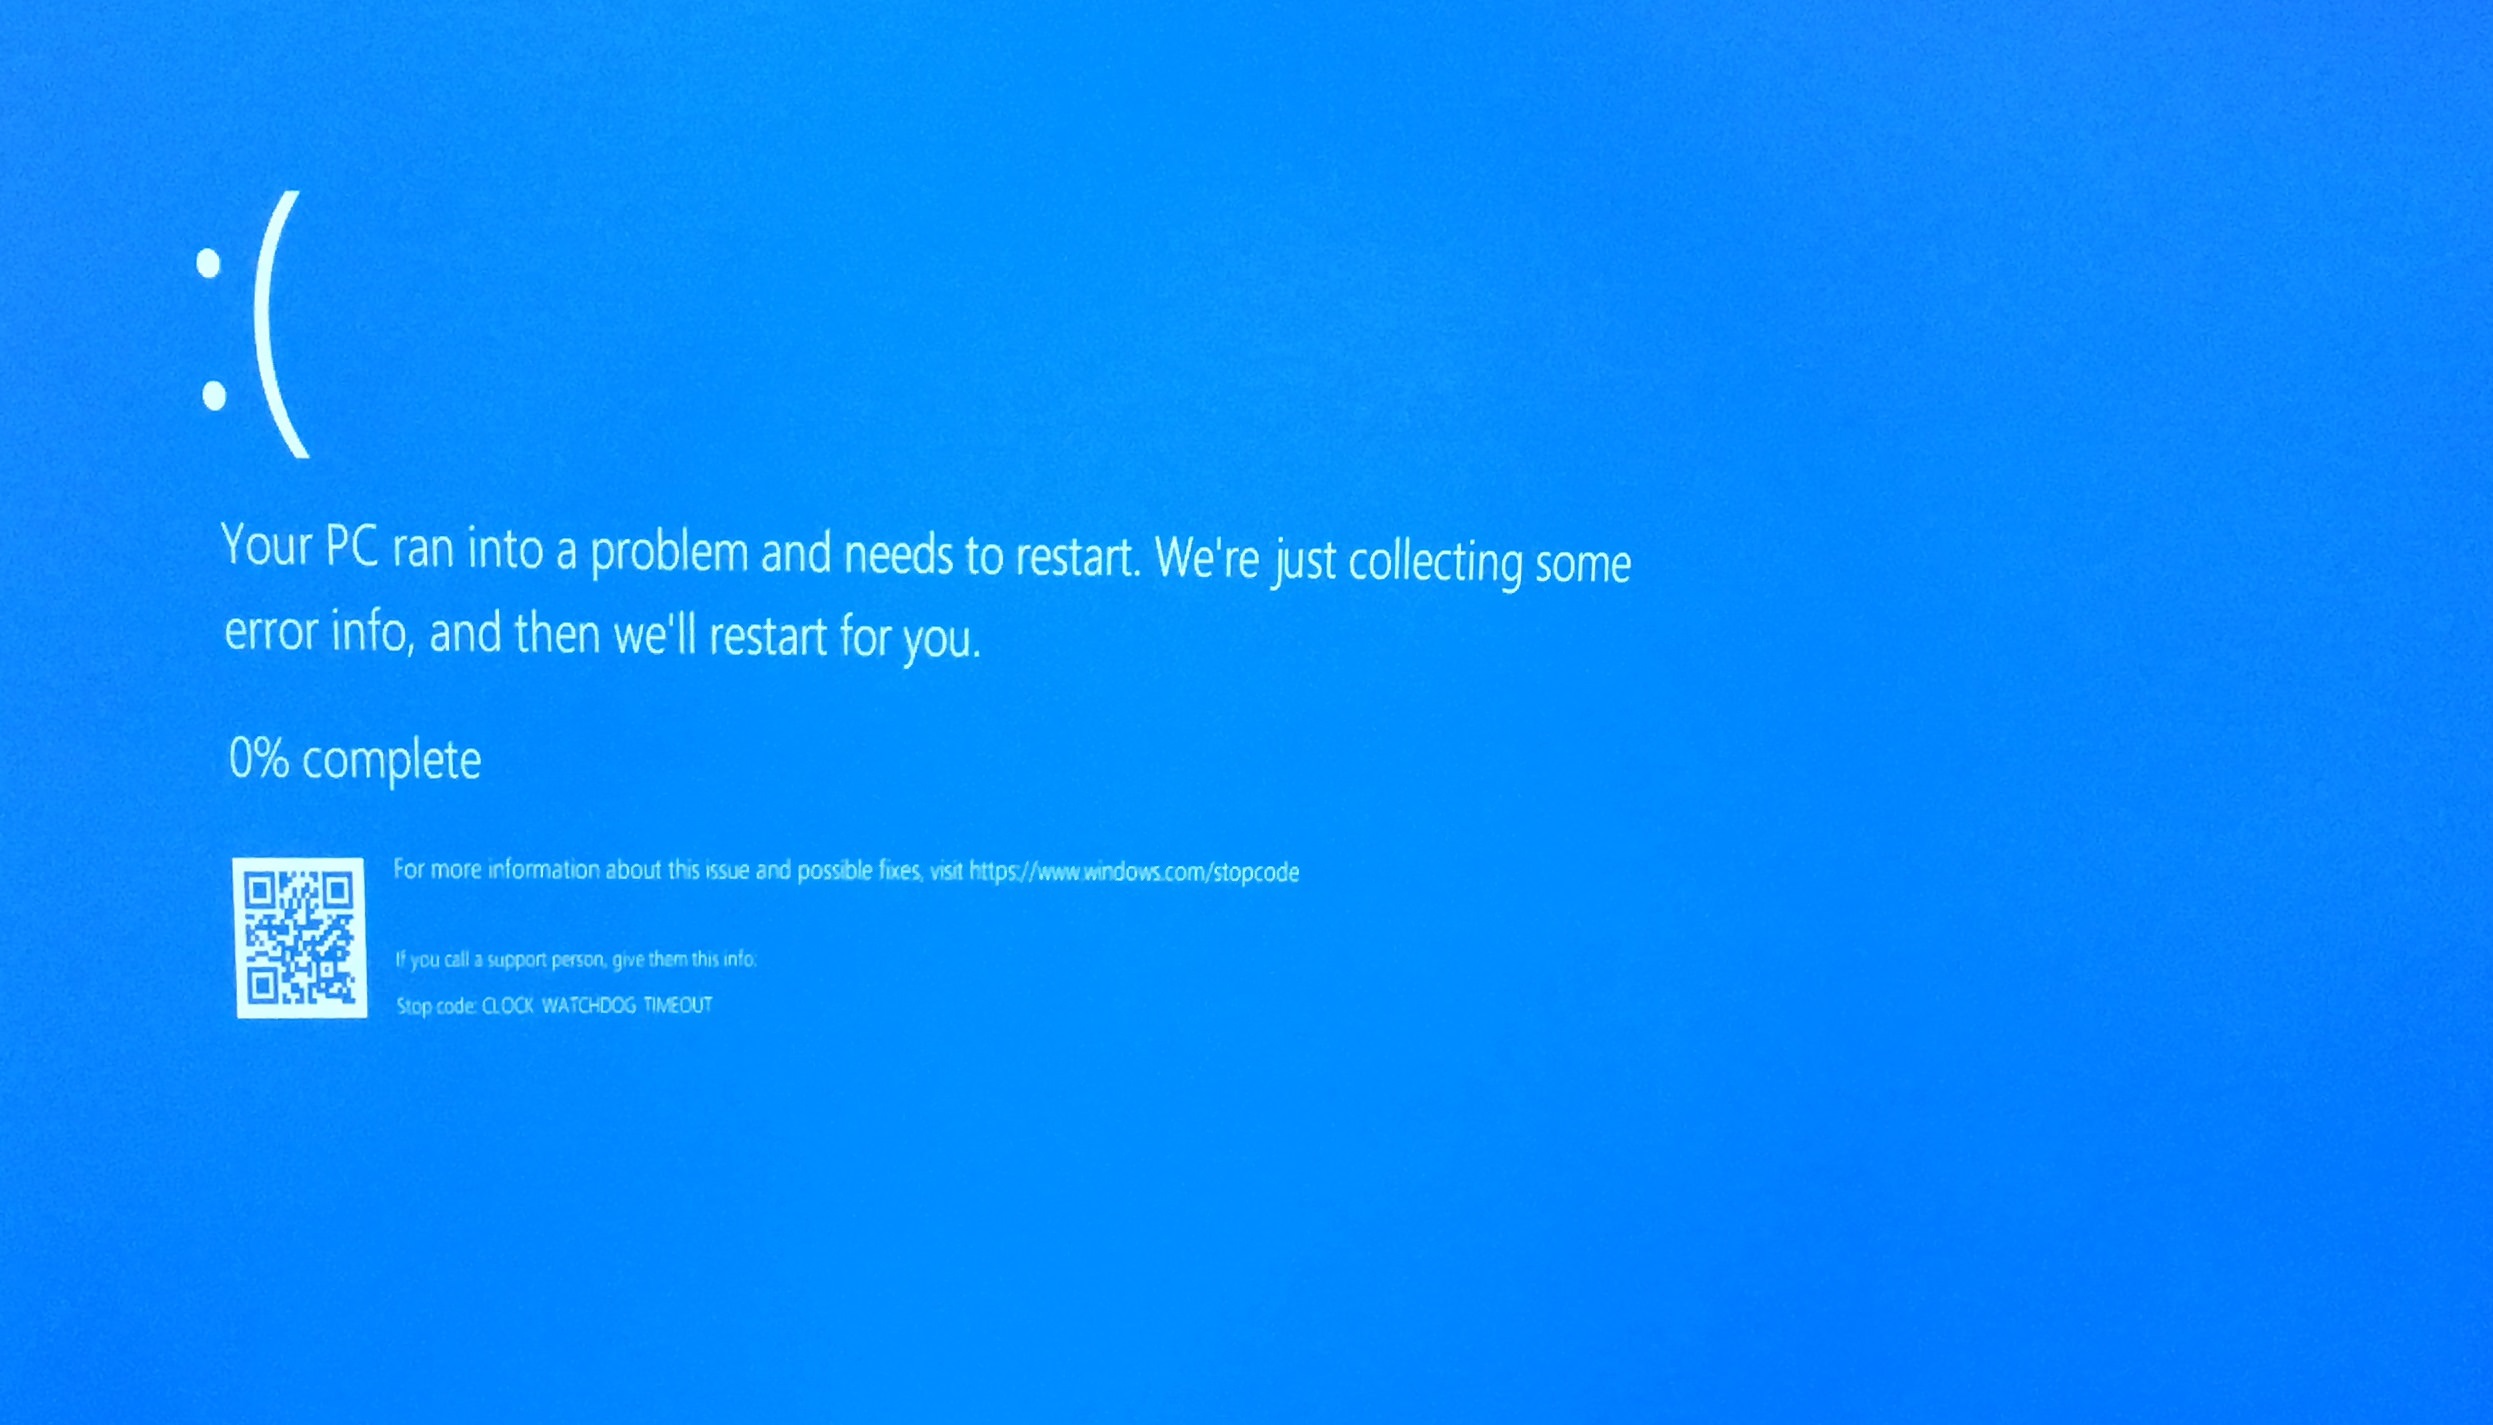
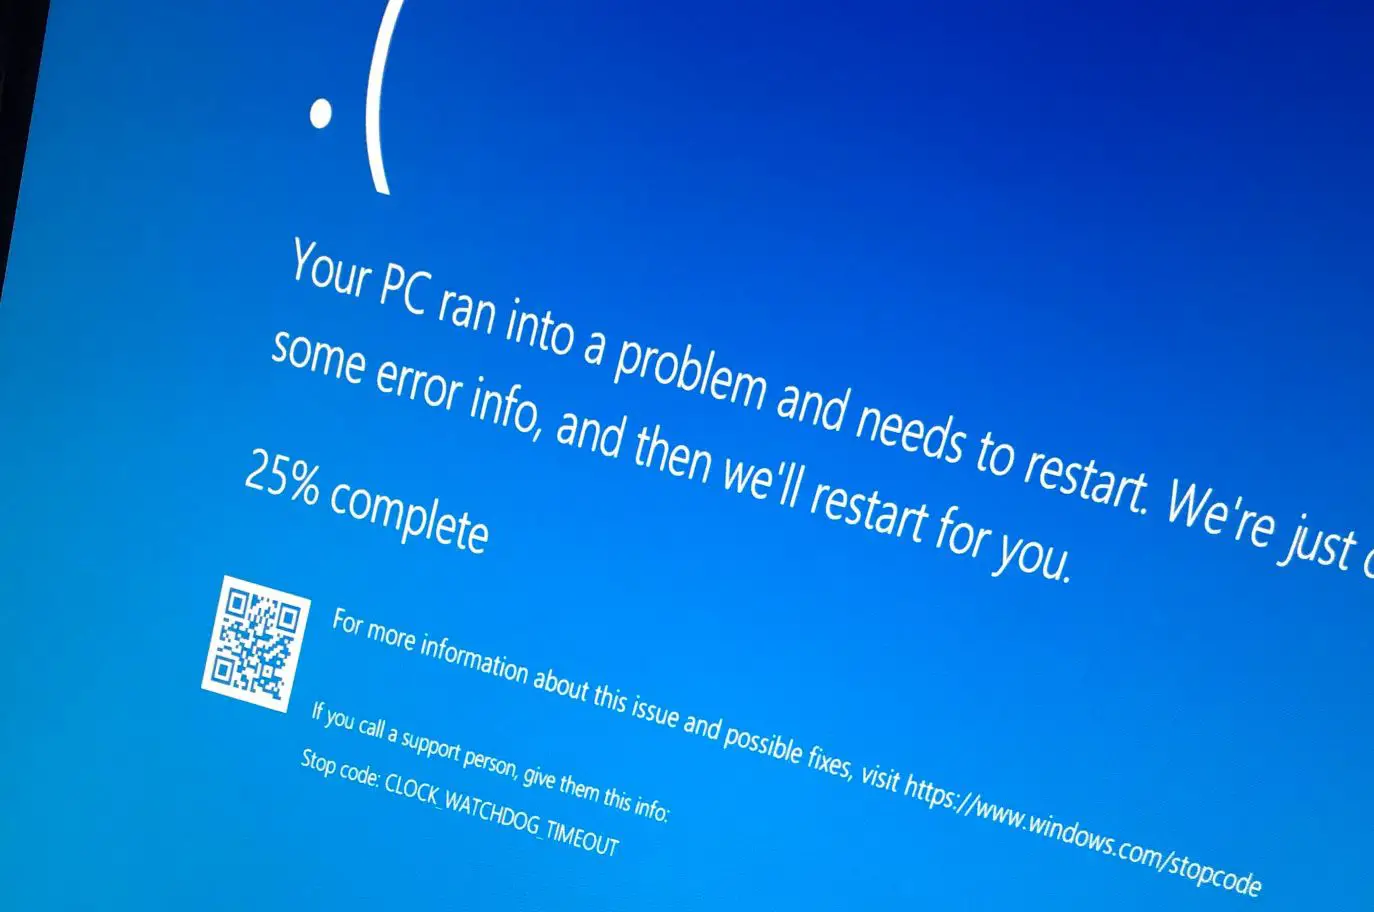
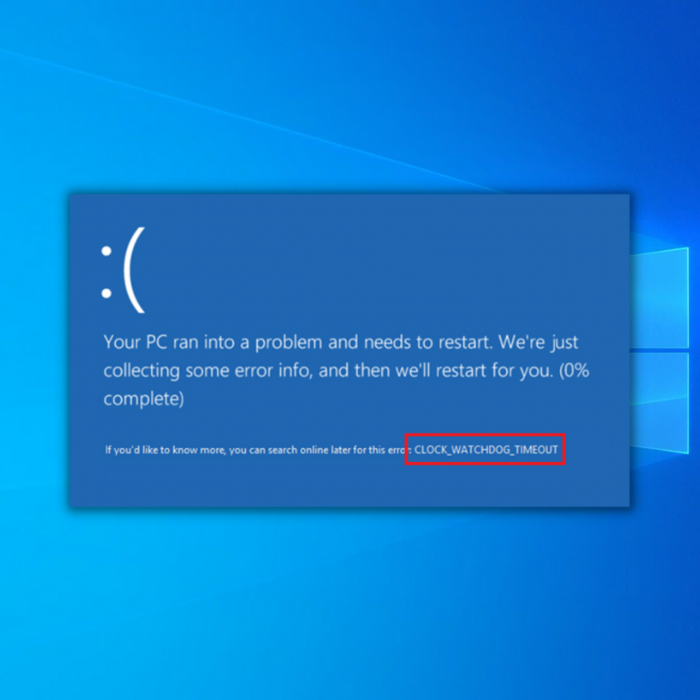
What is the CLOCK_WATCHDOG_TIMEOUT error & why it occurs? The CLOCK_WATCHDOG_TIMEOUT is a Blue Screen of Death (BSOD) error, with a value of 0x00000101 ( See Image 1 ). This error generally occurs when there is an issue with the processor, due to which the processor can't function correctly. Besides, there could be other reasons, such as:

Clock watchdog timeout error on Windows 10 [Full Guide] (2023)
How to Fix PDC WATCHDOG TIMEOUT Blue Screen Error in Windows 10 - Dell Hi, I have a Dell 2020 laptop, model Latitude 5400, I have this error below since the upgrade of windows 10 2004. It is happening all the time that he would go into sleep mode. I have to manually restart it All the drivers are up to date Please help me This thread is locked.

Fix The Windows 10 BSOD Error Clock Watchdog Timeout
Click on the "Systems" button that appears. Select "System Protection", found on the right side of the window that pops up under the "Related Settings" area. Click "System Restore" on the dialogue box, then go through the set-up wizard and confirm the restore. This process will probably take between 15 and 20 minutes.
How to Fix the Clock Watchdog Timeout Error in Windows
1. Restart Your System The most basic and easy fix is to restart your system. A clock watchdog timeout error isn't necessarily the indicator that your system is failing. It might be a bug that you can resolve with a quick and easy restart. 2. Check and Reseat Your Hardware

Clock Watchdog Timeout windows 10 FIX Error GUIDE] YouTube
1. Clean boot Windows 10 If you don't get a chance to take too many steps on your operating system because Windows 10 quickly shows the CLOCK WATCHDOG TIMEOUT error after launch, try a clean system boot. It instructs your OS to start only essential services, drivers, and processes, turning off everything else.

How to easily Fix CLOCK_WATCHDOG_TIMEOUT BSOD Error in Windows 10/8/7 [3 Solution] 2020 best
The clock_watchdog_timeout error code can occur before or after you boot your PC, but there are several reasons why you could be getting the error. These include: Corrupted or bad hardware drivers Incompatible Random Access Memory (RAM) Malware or virus infection Overclocked central processing unit (CPU) BIOS may need to be updated
Fix CLOCK_WATCHDOG_TIMEOUT Blue Screen Error on Windows PC
Solution. #2. Can you follow option one on the following link - here - and then do this step below: Small memory dumps - Have Windows Create a Small Memory Dump (Minidump) on BSOD - that creates a file in c windows/minidump after the next BSOD. Open Windows File Explore. Navigate to C:\Windows\Minidump.
Repair CLOCK_WATCHDOG_TIMEOUT BSOD Error Microsoft Watch
Go to Troubleshoot > Advanced Options > Startup Settings. If necessary, click See more recovery options to expand the list. After reaching the Startup Settings menu, press Restart and wait until Windows reloads. Then, you should choose an option depending on what solution below you are going to try. It can be: Safe Mode Safe Mode with Networking or

How to Fix Clock Watchdog Timeout Windows 10 [SOLVED] Errorcode0x
When you see the Clock Watchdog Timeout error, the problem usually lies with your processor. Common causes include: Miscommunications between threads in multiple-core processors. Overclocking your computer hardware. Incompatible RAM. Outdated firmware. Faulty hardware. Patrick Daxenbichler / Getty Images
Solved Clock Watchdog Timeout Error in Windows 10
Step 6. Update System BIOS. The final step to resolve the "Clock Watchdog Timeout" issue, is to update the BIOS on your system. In my case, the BIOS Update * was - finally - the solution to the BSOD CLOCK_WATCHDOG_TIMEOUT problem. Important: The BIOS Update is the last solution to solve computer problems, because if you incorrectly update.
How to Fix PDC WATCHDOG TIMEOUT Blue Screen Error in Windows 10 Dell
CLOCK_WATCHDOG_TIMEOUT is a Windows stop error that indicates a problem with your computer's processor. When this error occurs, it means that one of the processor cores in your system has failed to respond within the allocated time period. This can happen due to various reasons, such as hardware issues, driver conflicts, or software problems.
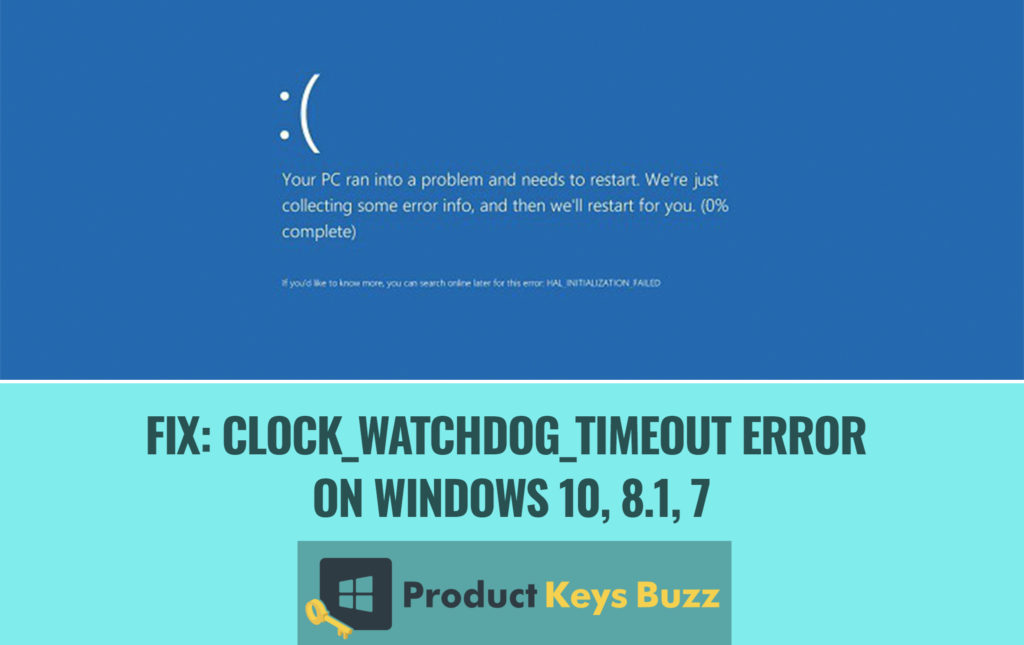
Full Fix Clock_watchdog_timeout error on Windows 10, 8.1, 7
1. Unplug External Hardware Suppose you started experiencing clock watchdog error after plugging in any external hardware device like a flash drive, external hard disk, headphones, or speakers. In that case, you need to unplug them immediately.
Fix The Windows 10 BSOD Error Clock Watchdog Timeout
Follow the steps mentioned below to fix the clock watchdog timeout error: #1) Press "Windows+ R" from the keyboard and search for "mdsched.exe" in the search bar and click on "OK" as shown in the image below. #2) A dialog box will open. Click on "Restart now and check for problems (recommended)". #3) System will restart and a.
Fix Clock watchdog timeout stop / bluescreen error in Windows 10 8 8.1
CLOCK WATCHDOG TIMEOUT (AGAIN!!) I have been receiving the CLOCK_WATCHDOG_TIMEOUT BSOD after I changed a display card. It happens even after I installed a clean Windows 11. I used driver verifier to judge the root of this problem and it turned out to be nvlddmkm.sys. Then, I uninstalled the driver of NVIDA via DDU and installed the latest driver.

How to fix clock watchdog timeout windows 10
You have to manually detect the driver. 1. Press the Windows key+R keys together. 2. Then, type " verifier " in the Run terminal and hit " OK ". 3. In the Driver Verifier Manager screen, tap toggle the " Create standard settings ". 4. After that, just tap " Next " to proceed.